How to Stop a Screen Recording on QuickTime Player | Tutorial Share
In the digital age, screen recording has become an important skill. 😉QuickTime player, as a tool with a Mac system, provides a convenient screen recording function. 🙋♀️In this article, we will detail how to stop screen recording on QuickTime player and share some useful screen recording tools, 💡such as:
📍WorkinTool RecWit
📍WorkinTool VidClipper
📍Snipclip
We hope this will help you choose the right screen recording solution for you and make your recording experience more professional and efficient.🥳
How to Stop a Screen Recording on QuickTime Player | Tutorial Share
How to stop screen recording on Quicktime player? 😕Screen recording is a skill that is very useful in a variety of scenarios. ✅Whether you want to create a software tutorial, record a game session, capture the content of an online meeting, or just want to record certain moments on the screen, you can’t do it without the screen recording feature.🙋♀️
QuickTime Player, as the media player that comes with macOS, also has a simple screen recording function. 🔮In this article, we will introduce in detail how to stop screen recording on QuickTime Player and also share other more useful screen recording methods. 🧐Hopefully, through this article, you will be able to master a variety of screen recording techniques and find a suitable program for yourself.💡

✅ How to stop screen recording with QuickTime Player
1️⃣ Stop by the recording button
- During recording, move your mouse to the recording control panel at the top of the screen and click the red “Stop” button.
- If the recording window is blocked, you can find the QuickTime icon in the taskbar. Right-click on it and select “Show Window“, then click the “Stop” button.
2️⃣ Use shortcut keys to stop
- Press the “Control + Command + Esc” key combination, QuickTime will automatically stop recording and save.
3️⃣ Force exit stop
- If QuickTime is not responding, you can stop recording by using the “Force Quit” feature. Click on the menu, select “Force Quit“, find and highlight QuickTime, and click the “Force Quit” button.
- Or press the “Command + Option + Esc” keys at the same time to open the “Force Quit Application” window, select QuickTime Player, and click “Force Quit Force Quit”.
4️⃣ Stop by activity monitor
- Open “Finder“, go to “Applications” in “Utilities“, and open “Activity Monitor Open “Activity Monitor”. Select “QuickTime Player“, click the “Exit” button to close the program, and end the recording.
| With these methods, you can easily start and stop QuickTime screen recording. 🥳QuickTime, as a built-in tool for macOS, has the advantage of being convenient and fast. 🚩However, users who need more advanced features, cross-platform compatibility, or more powerful editing capabilities, may want to consider other professional recording tools.🧐 |
Next, we will introduce a few tools that excel in the field of screen recording and video processing, which may satisfy your needs even further.🙋♀️
✅ Powerful Screen Recording and Video Processing Tools Recommended
🥇 WorkinTool RecWit
WorkinTool RecWit is a feature-rich screen recording software that offers a wide range of advanced features such as HD recording, region selection, real-time graffiti, and more. In addition, the program supports outputting a wide range of video formats and has basic video editing features built-in for quick processing after recording.
✨The interface is intuitive and easy to use for users who need a high-quality, versatile recording experience.
🎉 Steps to use:
Step 1: Download and install the WorkinTool RecWit software.

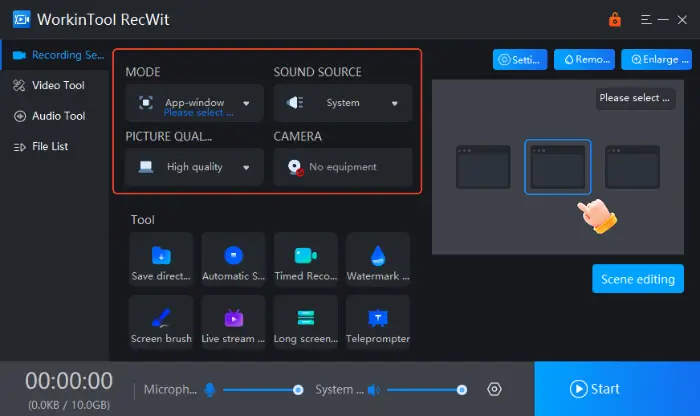
Step 2: After opening the software, select the appropriate recording mode and adjust the recording quality, audio input, and other parameters at the same time.
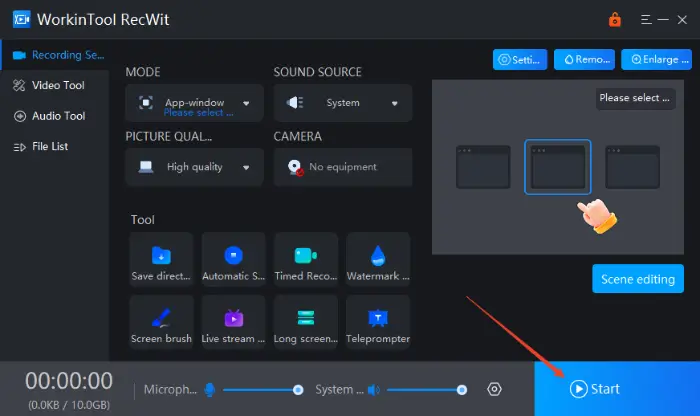
Step 3: Click “Start” to start recording after the countdown.
During recording, you can use the toolbar to pause, take screenshots, or doodle in real-time.
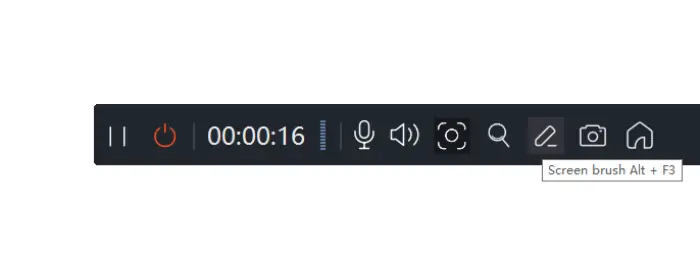
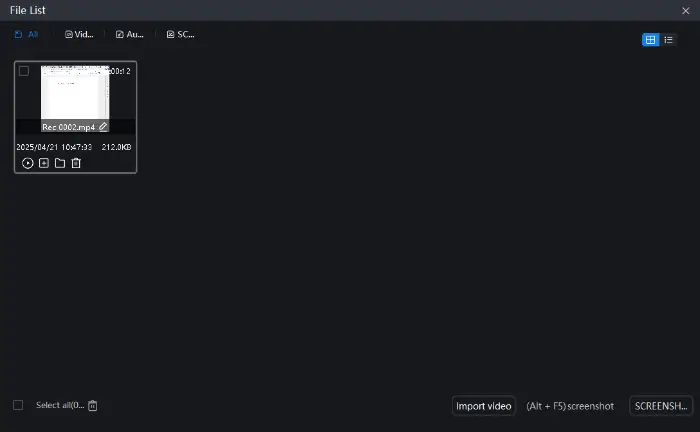
Step 4: Click the “Stop” button to stop recording. When the recording is finished, the software will automatically pop up the list of recorded files, in which you can preview or directly save/export the video.
🥈 WorkinTool VidClipper
WorkinTool VidClipper is a powerful video editing software that integrates screen recording, video editing, format conversion, and many other functions in one. Although its core is video editing, its accompanying screen recording function is also very useful.
✨The software provides a wealth of transitions, filters, special effects, and other tools for users who have high requirements for video post-production.

🎉 Steps to use:
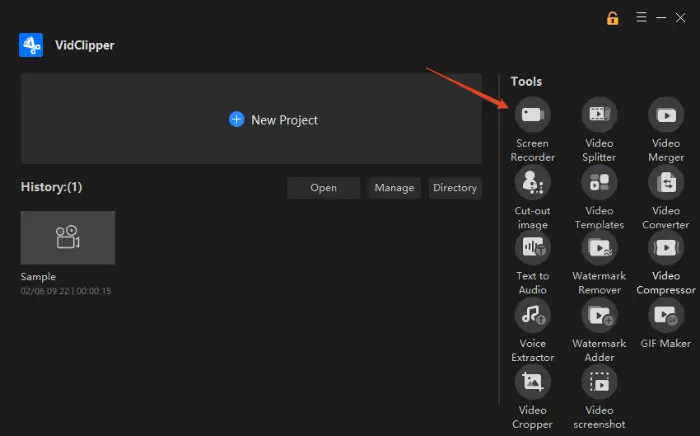
Step 1: Open WorkinTool VidClipper on your device and find the “Screen Recorder” function in the main interface or toolbar.
Step 2: After entering the screen recording interface, adjust the recording parameters according to your needs, such as recording area, audio source, and so on.
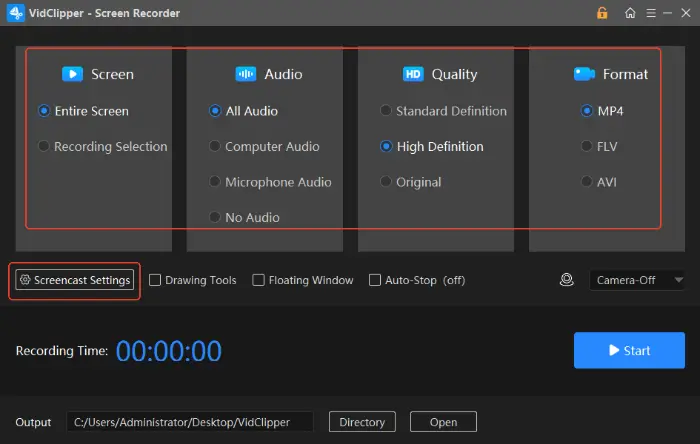
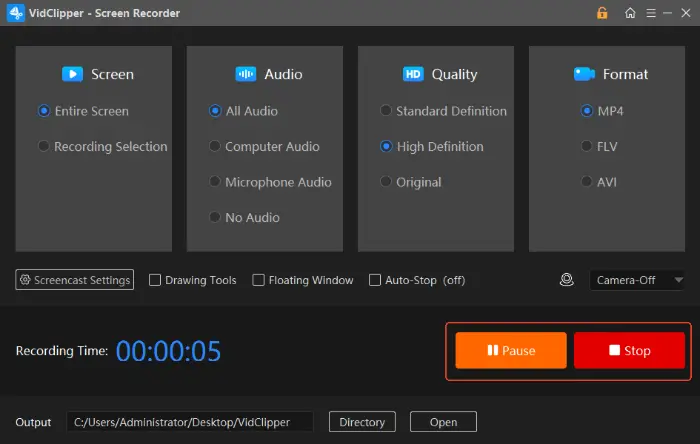
Step 3: Click the “Start” button to start screen recording. To stop recording, click the Stop button on the control bar or press the set Stop shortcut.
🏅 Snipclip
This is a web-based online screen recording tool, the biggest advantage is that you don’t need to download and install any software, you can record your screen anytime and anywhere through your browser.
✨It’s easy to use, has a friendly interface, and is perfect for quick, ad hoc screen recording tasks.
🎉 Steps to use:
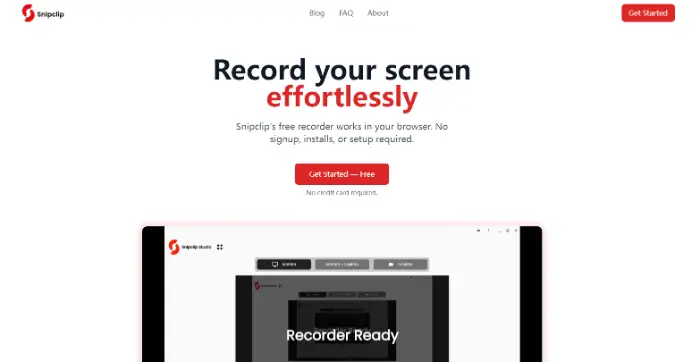
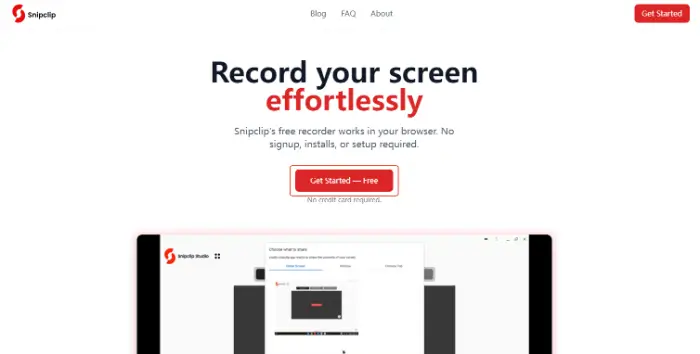
Step 1: Using any browser, go to the official Snipclip website. On the webpage, find the screen recording function entrance and click “Get Start“.
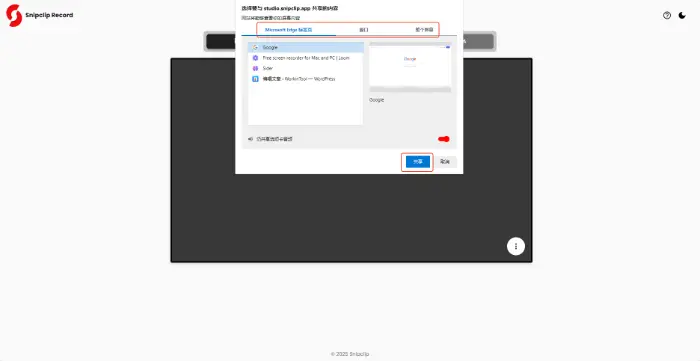
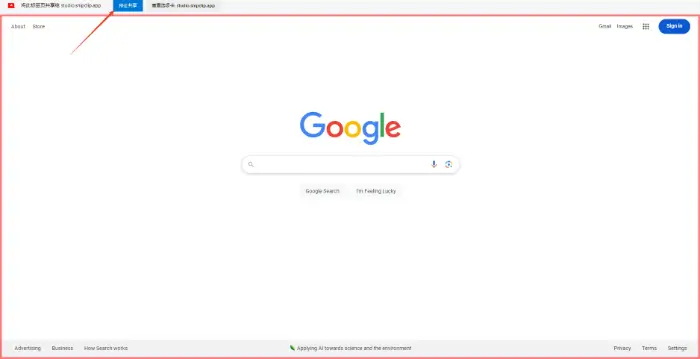
Step 2: Select the area of the screen you want to record and click “Share ” to start screen recording.
Step 3: To stop recording, just click the “Stop Recording” button on the webpage.
Step 4: After the recording is finished, Snipclip will provide video preview and download options on the webpage, and you can directly save the video file locally.
✅ Summary
✨This table compares the core features of the three third-party tools and will hopefully help you better understand their differences and applicable scenarios.
| 🔹Tool name | 🔹Core positioning/primary use | 🔹Highlighting Advantages | 🔹Applicable people/scenarios |
| WorkinTool RecWit | Professional Screen Recording Software | Rich Recording Functions and Fine Control | High-quality, full-featured recording users who need to focus on detail control of the recording process |
| WorkinTool VidClipper | Video editing software with integrated recording | Powerful post-editing capabilities, recording and editing integration | Users who need to record the screen and perform complex, professional post-editing of the video |
| Snipclip | Web-based online screen recording tool | No installation required, instant and easy to use anytime, anywhere | Users who need quick, temporary screen recording or don’t want to install additional software |
Mastering “How to Stop Screen Recording on QuickTime Player” is a key step for macOS users to perform basic recording operations.👀
If you need more advanced recording features, powerful video editing capabilities, cross-platform support, or convenient online sharing, 💡then WorkinTool RecWit, WorkinTool VidClipper, and Snipclip will be good choices. 📝Understanding and trying these different tools will help you choose the right solution according to your specific recording purpose and usage scenarios, and make your screen recording work twice as fast with half the effort.⌛
I hope this tutorial will help you better utilize QuickTime and other great tools to play with screen recording easily!🥰
Related Article
 How to Turn Screen Recording on | Methods and Tips to Share How Do You Record Your Screen| Share Detailed Graphic Tutorial How Do You Get to Screen Recording|A Practical Tutorial for Beginners