Easy to Get Started! How to Turn on Screen Recording
Screen recording is a very practical function that plays an important role in learning, work, and entertainment. 💠It can help us record important operations, create instructional videos, share game moments, and even be used for remote assistance and other scenarios. 🧐
🎯Below we will share the various ways of screen recording, from the system’s features (Xbox Game Bar, Screenshot Toolbar) to a variety of professional third-party tools (WorkinTool RecWit, VidClipper, FlexClip), which can meet the needs of different users.📧
Easy to Get Started! How to Turn on Screen Recording
How to Turn on Screen Recording? 👀Screen recording, as the name suggests, is to record the operation process, screen changes, and sound on the device screen to generate video files. 📢Whether it is to create software operation tutorials, record exciting game moments, save important online meeting content, or show technical support personnel encountered problems, screen recording plays a very important role.🔮
For many first-time screen recorder users, “How to Turn on Screen Recording” is a difficult thing. Don’t worry! 🥳This article will help you to easily grasp the screen recording in a variety of “open” ways so that you quickly find a suitable solution for your own screen recording.✨
💡There are various ways to turn on screen recording, which can be summarised into the following categories:
| ⭐Categorization | 📢Description |
| System Tools | Operating systems (Windows, macOS) usually have basic screen recording functionality built-in, eliminating the need for additional software installation and making it convenient for simple recording tasks. |
| Professional Desktop Recording Software | This type of software is powerful and offers advanced options such as HD recording, region selection, audio control, camera overlay, scheduled recording, and other advanced options for scenarios that require high-quality, personalized recording. |
| Comprehensive Video Tools | Some video editing or processing software also integrates screen recording functions, suitable for users who need to edit and add special effects immediately after recording. |
| Online Screen Recording Tool | The web-based screen recording tool requires no installation and can be used by opening the browser. It is cross-platform and suitable for temporary recording or users who do not want to install software. |
✅Mastering the system’s screen recording function
For most users’ daily needs, the screen recording features that come with the operating system are often sufficient. 🙋♀️They are easy to use, do not require installation, and are the first choice to quickly turn on screen recording.👀
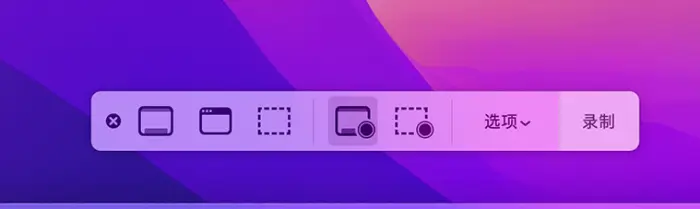
macOS: Using the Screenshot Toolbar
✨In macOS, the recording of screen content can be easily done through the included screenshot toolbar.
🔑The procedure is as follows:
Step 1: Press the Shift + Command + 5 key combination on your keyboard. In the toolbar that appears at the bottom of the screen, find and click the “Record” button.
Step 2: Click the Stop icon in the menu bar or press the Command + Control + Esc key combination to stop recording.
Step 3: By default, the recording file will be saved to the desktop for easy viewing.
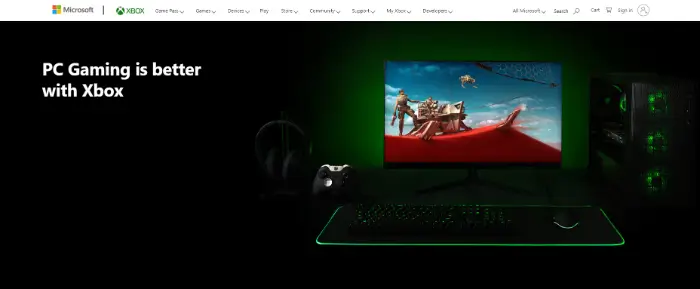
Windows: Using the Xbox Game Bar
✨Windows 10 and later has a built-in gaming toolbar called the “Xbox Game Bar” that includes screen recording capabilities. Although originally designed for gaming, it can also be used to record any application window.
🔑The procedure is as follows:
Step 1: Press the Win + G key combination to open the Xbox Game Bar.
Step 2: Click the “Start Recording” button (or use Win + Alt + R shortcut) to start recording. Click the “Stop Recording” button (or use Win + Alt + R shortcut) to stop recording.
Step 3: The recorded video file is saved in the “Capture” folder under the “Video” folder.
✅Using third-party screen recording tools
While the system comes with handy tools, if you need more professional recording options, greater flexibility, or built-in editing features, then third-party software would be a better choice.⭕
1.WorkinTool RecWit
✨WorkinTool RecWit is a powerful screen recording software that offers a wealth of recording options and editing features for a variety of user groups.
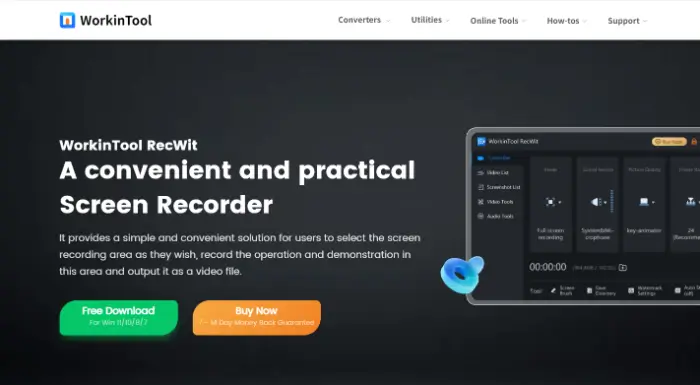
🔑The procedure is as follows:
Step 1: Download and install WorkinTool RecWit.

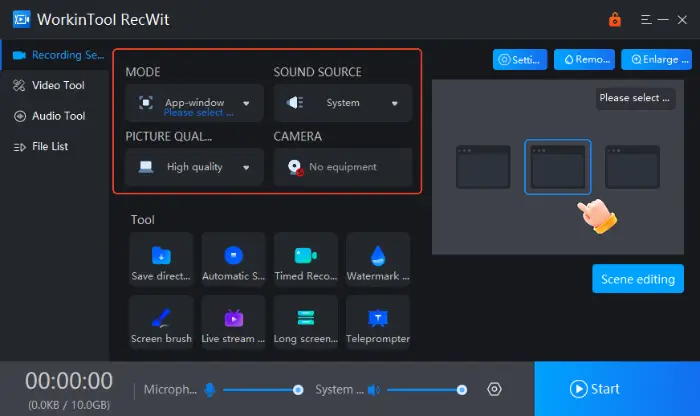
Step 2: After opening the software, you can set the recording mode, recording quality, audio input, and other parameters in the main interface of the software.
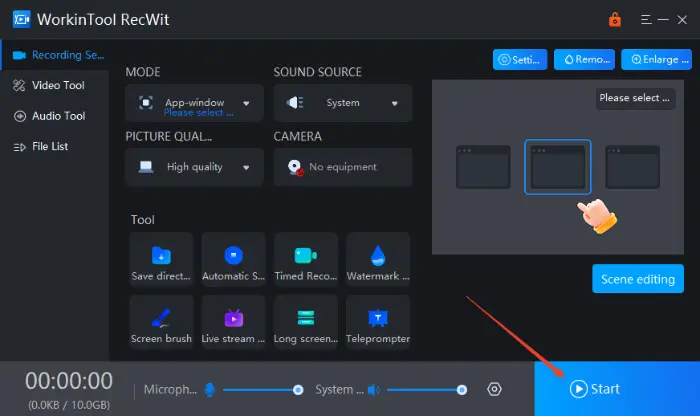
Step 3: After the settings are finished, click the “Start Recording” button at the bottom right corner. After the countdown is over, the software will officially start recording the screen content.
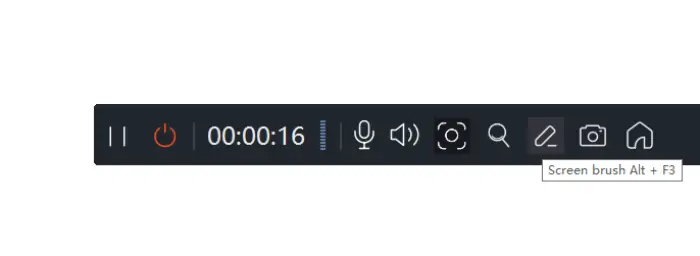
Step 4: In the process of screen recording, click the “End” button in the toolbar to stop recording.
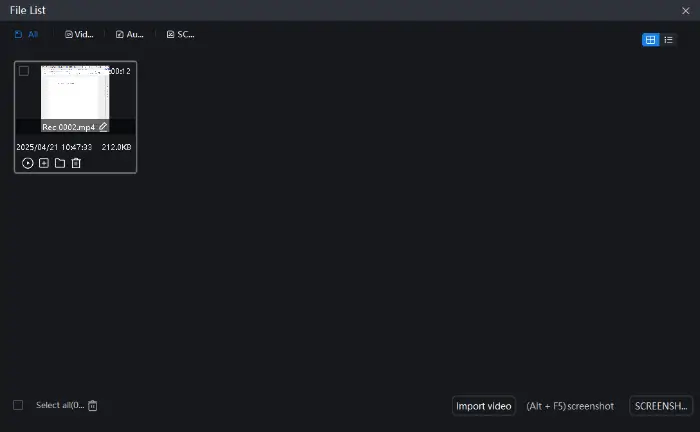
Step 5: After recording, the software will automatically save the recorded content and display it in the software for easy viewing and editing.
2.VidClipper
✨While its core function is video editing, it also integrates a high-quality screen recording module. This provides great convenience for users who need to record screen content and edit it immediately afterward.

🔑The procedure is as follows:
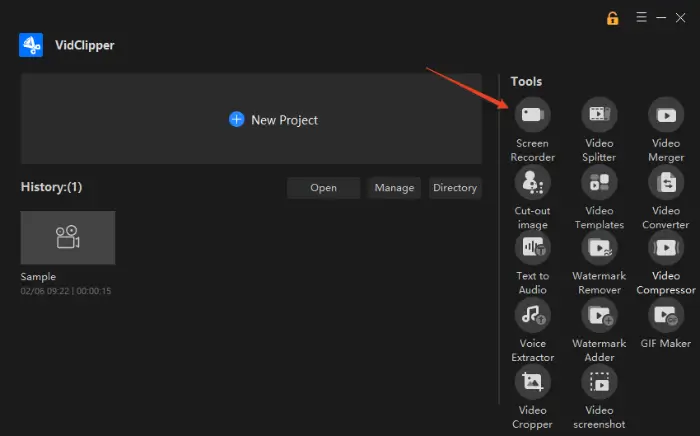
Step 1: Launch the software and find the “Screen Recorder” function in the main interface, click to enter.
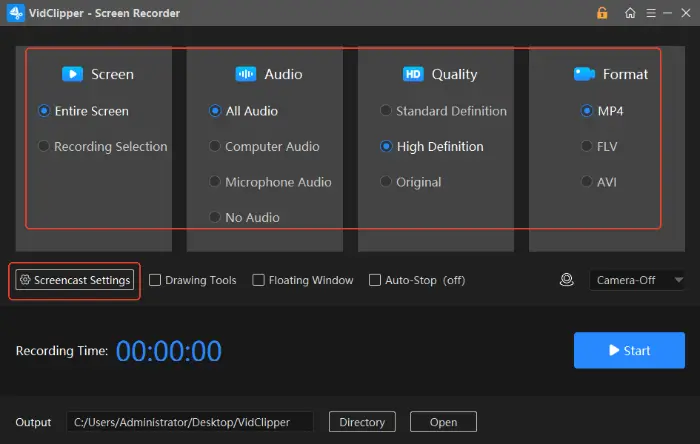
Step 2: The software provides a variety of parameters, such as recording area, audio source, etc., which you can adjust according to your actual needs.
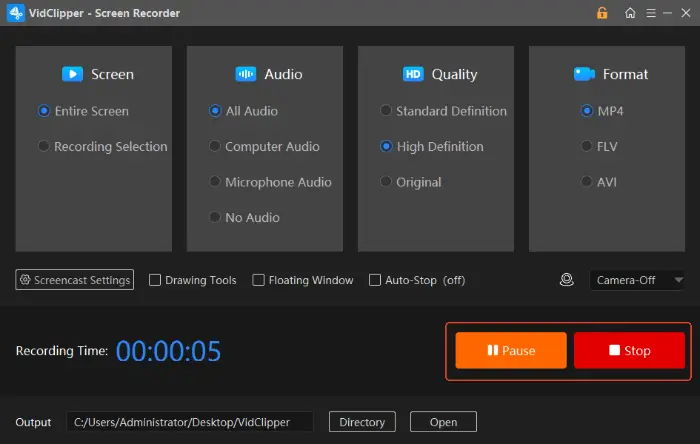
Step 3: Click “Start” to start screen recording, if you want to stop recording, call out the action bar, and click “Stop“.
3.FlexClip
✨This is an online video editing platform that also offers screen recording. It doesn’t require any software installation, users just need to open the website in the browser, adjust the relevant settings, and start recording the screen.

🔑The procedure is as follows:
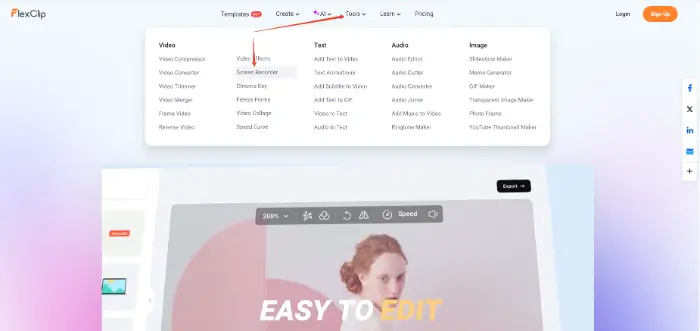
Step 1: Find “Video” – “Screen Recording” in the toolbar of the website and click to enter the corresponding function page.
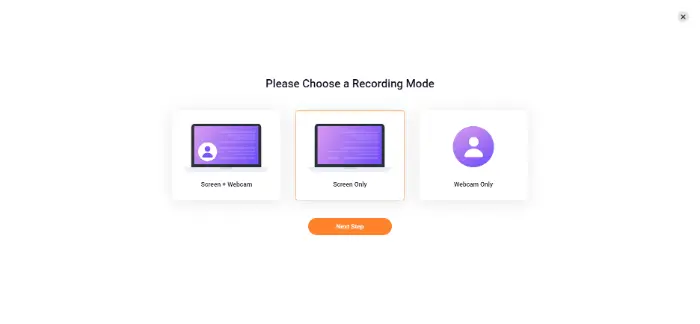
Step 2: In the screen recording interface, select the appropriate recording mode.
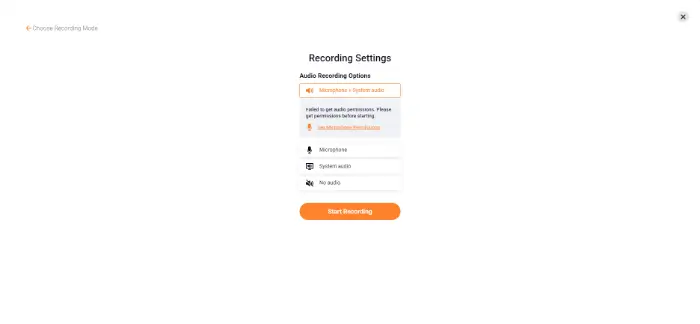
Step 3: Set the source of the sound during the recording process, this time the browser difficulty will request the microphone permission, which you can choose to allow.
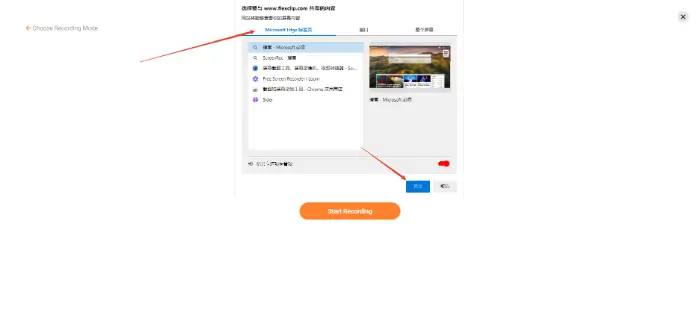
Step 4: Immediately after that, the website will pop up a window asking which window needs to be shared, select it and click “Share“.
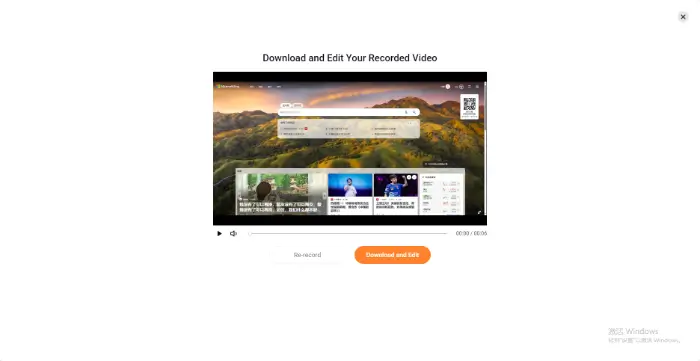
Step 5: Click “Stop” on the control bar if you want to stop recording. Then, the recorded video will be displayed on the web page, and you can choose to edit or save it.
✅Summaries
🔮At this point, we have described in detail the four main screen recording methods and how they are “turned on”. Each method has its own unique advantages and application scenarios:
|
This is all about “How to Turn on Screen Recording”. 🥰Screen recording is not difficult, as long as you master the right methods and tools, you can easily record every wonderful moment. 📜Whether for study, work, or entertainment, screen recording can add more convenience and fun to our lives.🎉
🎈I hope that this article introduces several screen recording methods that can help you better use this feature, 💡so that screen recording becomes a powerful assistant in your life.
Related Article
 How to Turn Screen Recording on | Methods and Tips to Share How to Turn on Screen Recording: From Zero to Mastery How to Do Screen Recording: An Easy Guide